


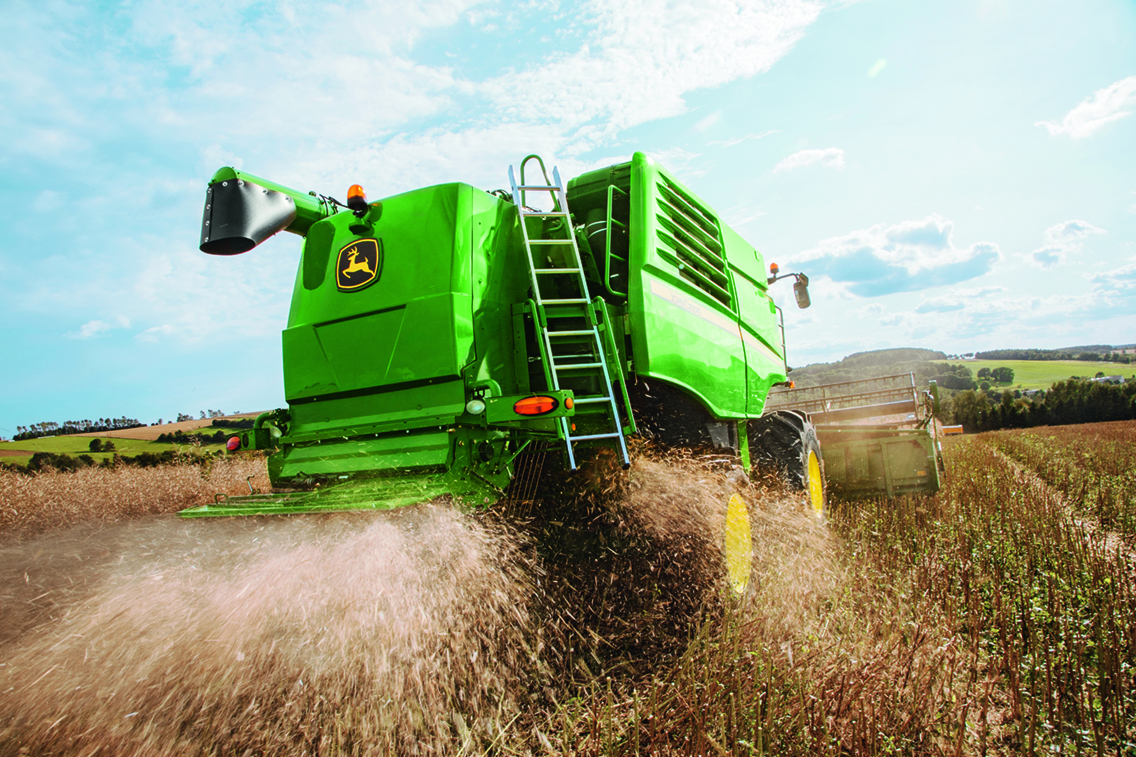
With the combinable crop harvest just around the corner, checking over the combine before things get really busy could pay dividends later on. If you have taken advantage of a P Tuckwell out-of-season service for your machine, most of the points in this post will have been covered by your engineer, but the basics are still worth looking over. Staff from our service departments are always available to provide advice and assistance, and to inspect your combine, but here are a few areas where some on-farm checks can help ensure your combine runs safely and efficiently this harvest.
1. Starting with the header, check over the condition of the cutterbar knife sections and fingers, and the lifters where present, ensuring you have sufficient replacements for harvest. Make sure the knife drive head is in good condition. On the reel, look for bent or missing tines, ensure the reel bars and bearings move freely, and that the main reel shaft bearings and drive belt are in good condition. Turning to the auger, check the condition of the flights, the bearings and the auger slip clutch and drive chain. Ensure the table PTO shafts are in good and safe condition, and check the header height sensors work correctly.
2. Moving to the machine itself, check the condition of the elevator chains, sprockets and slats, and that the stone trap is clean and seals correctly. Depending on whether you operate a conventional/walker or a rotary combine, ensure the concaves are clean and the wires are in good condition, and if possible examine the cylinder rasp bars/rotor flights to assess wear. On walker machines, a similar inspection of the walkers for cleanliness and damage will pay off in improved performance and minimal losses once at work. Lastly in this area, check the cleanliness and condition of the sieves and the clean grain and returns elevators.
3. Check over the condition of the grain tank and the unloading auger, examining the bubble-up auger and unloading auger flights as far as possible. Then, moving round to the rear of the machine, ensure the chopper blades are in good condition for the start of the season.
4. Carry out a full pre-season grease of your combine following the greasing diagrams located on either side of your machine and one on your header. Ensure your machine is filled with fresh diesel and DEF/AdBlue, and that all key filters – engine, transmission and hydraulic oil, engine air and cab air – have been changed/cleaned thoroughly according to your service plan. Run the engine up to working temperature and engage the threshing mechanism, the header and the chopper to ensure all functions operate correctly. Check all lights and safety features work correctly, that tracks/tyres are in good condition and, in the latter case, inflated correctly, remembering to make the same checks to the header trailer.
With these key points covered, you should be good to go. Consider contacting the service department of your local outlet now, and getting your combine booked in for an end-of-season inspection, to make this process as simple as possible ahead of next harvest.
Find out more about our Harvest Promise as part of our Service+ offering HERE.